All About Kids Guidelines for Carving Pumpkins
News
Introduction
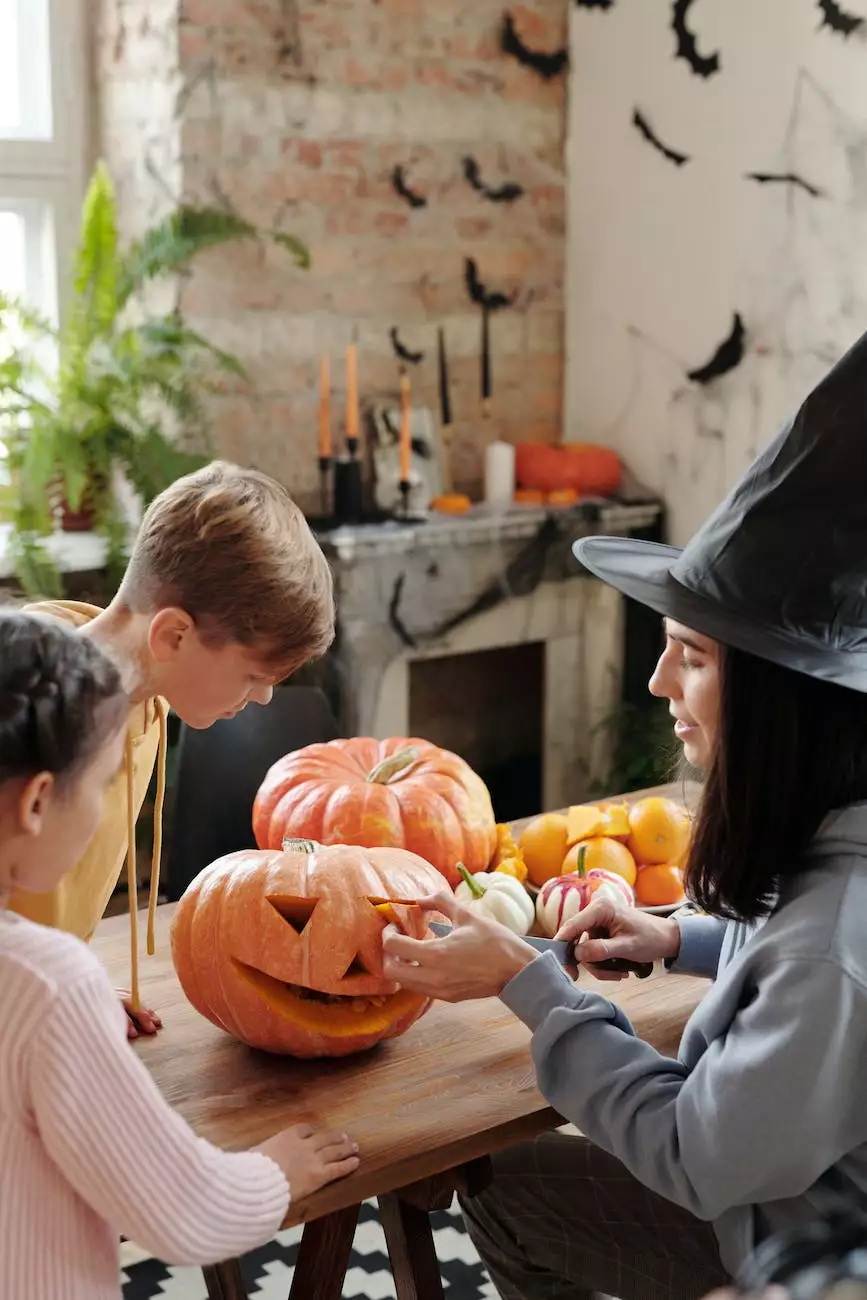
Welcome to Kidd's Preschool Enrichment Center's blog post on carving pumpkins! We understand how important it is to engage children in creative and educational activities, and carving pumpkins is a wonderful opportunity to do just that. In this article, we will provide you with comprehensive guidelines and tips to make your pumpkin carving experience with kids safe, memorable, and super fun!
Selecting the Perfect Pumpkin
Choosing the right pumpkin for carving is essential to achieve the desired outcome. When visiting your local pumpkin patch or grocery store, make sure to look for pumpkins that are firm, have a sturdy stem, and a smooth surface. Avoid any pumpkins with soft spots or mold. Remember, the size of the pumpkin should be appropriate for your child's age and strength. Smaller pumpkins are easier for little hands to handle, while bigger ones allow for more intricate designs.
Gathering the Necessary Tools
In order to have a successful pumpkin carving session, it's important to have the right tools. Here's a list of must-have items:
- Sharp serrated knife for cutting the top off the pumpkin
- Ice cream scoop or spoon for removing the seeds and pulp
- Pumpkin carving stencil or design template
- Pumpkin carving saw or serrated knife for detailed carving
- Small carving tools or drill for adding intricate details
Gather these tools beforehand to ensure a smooth and enjoyable carving process.
Preparing the Pumpkin
Before diving into the actual carving, make sure to follow these steps to prepare the pumpkin:
- Designate a work area that is well-lit, spacious, and easy to clean.
- Secure the pumpkin by placing it on a stable surface or using a pumpkin carving kit holder.
- Using a sharp serrated knife, carefully cut a circular lid around the stem of the pumpkin. Angle the knife slightly inward to prevent the lid from falling into the pumpkin later.
- Once the lid is removed, use an ice cream scoop or spoon to scrape out the seeds and pulp from the inside of the pumpkin. Save the seeds if you want to roast them later!
By following these steps, you'll have a clean canvas for your pumpkin design and ensure a safe carving experience.
Carving Tips and Techniques
Now comes the exciting part – carving the pumpkin! Here are some tips and techniques to make your designs stand out:
Use a Stencil or Design Template
Creating intricate designs can be challenging, especially for younger kids. Use a pumpkin carving stencil or design template to guide your carving process. Alternatively, you can print out designs from the internet and trace them onto the pumpkin surface.
Start with Simple Designs
For beginners, it's best to start with simple designs such as basic shapes or silhouettes. As your child gains confidence and improves their carving skills, you can gradually move on to more intricate patterns.
Carve in Well-Ventilated Areas
Pumpkins can emit a strong odor, especially when the insides begin to decompose. To avoid any unpleasant smells, make sure to carve the pumpkin in a well-ventilated area or even consider outdoor carving if the weather permits.
Supervise and Assist
Adult supervision is crucial throughout the entire pumpkin carving process. Children should always be supervised, especially when using sharp tools. Offer assistance as needed and never leave young children unattended during carving activities.
Add Creative Touches
Encourage your child to unleash their creativity by adding unique touches to their pumpkin. Consider using small carving tools or a drill to create patterns, textures, or even small cutouts for light to shine through.
Preserving Your Pumpkin
To prolong the life of your carved pumpkin masterpiece, follow these preservation tips:
- Keep your carved pumpkin in a cool and dry place, away from direct sunlight.
- Apply petroleum jelly or vegetable oil to the cut edges of the pumpkin to prevent them from drying out too quickly.
- Consider using battery-operated LED lights instead of candles to illuminate your pumpkin. This reduces the risk of fire and provides a longer-lasting glow.
- Regularly spritz the pumpkin's carved surfaces with water to keep them hydrated.
By implementing these preservation techniques, you can enjoy your carved pumpkin for a longer period of time.
Conclusion
Carving pumpkins is an exciting activity that allows children to unleash their creativity while celebrating the spirit of Halloween. Follow our guidelines and tips to create amazing pumpkin designs and make it a fun-filled activity for the whole family. At Kidd's Preschool Enrichment Center, we believe in fostering imaginative learning experiences, and carving pumpkins is just one of the many ways we encourage children to explore their creativity. Get ready to create memories that will last a lifetime!


