How to Setup a VPN Server on Your Android Phone: A Comprehensive Guide
In today's digital age, online privacy and security are more important than ever. One effective way to protect your information and maintain your anonymity on the internet is to use a Virtual Private Network (VPN). This guide will walk you through the steps on how to setup a VPN server on your Android phone, offering detailed insights and valuable tips.
Understanding the Importance of VPNs
A VPN creates a secure connection between your device and the internet, encrypting your data and masking your IP address. Here are some key benefits of using a VPN:
- Enhanced Security: By encrypting your internet traffic, a VPN protects you from cyber attacks and data breaches.
- Improved Privacy: Your online activities are kept private from ISPs and government surveillance.
- Access to Restricted Content: Bypass geographic restrictions on websites and streaming platforms.
- Safe Public Wi-Fi Usage: Using public Wi-Fi networks without a VPN can expose you to severe risks; a VPN mitigates these risks.
What You Need to Setup a VPN Server
Before diving into the installation process, ensure you have the following prerequisites:
- Android Phone: Your Android device should be running on a version that supports VPN settings (most devices do).
- Reliable VPN App: You will need a trusted VPN application, as it'll allow you to configure the VPN server.
- Stable Internet Connection: Ensure that you have a stable and reliable internet connection during the setup process.
- VPN Account: Depending on your choice of VPN, you may need to create an account with the service provider.
Step-by-Step Guide to Setup VPN Server on Android Phone
1. Choose the Right VPN Application
Selecting a suitable VPN app is the first and most crucial step in setting up a VPN server on your Android phone. Popular options include:
- NordVPN - Known for its robust security features and fast speeds.
- ExpressVPN - Offers a user-friendly interface and extensive server locations.
- ZoogVPN - A great option for those who want a reliable and cost-effective service.
- Surfshark - Allows unlimited device connections and offers strong privacy protections.
2. Install the Selected VPN App
Head to the Google Play Store on your Android phone, search for your chosen VPN application, and click "Install." Once installed, launch the application.
3. Create an Account or Log In
If you are a new user, you will need to create an account. Follow the app's instructions for registration. If you already have an account, just log in.
4. Configure VPN Settings
Once logged in, navigate to the VPN settings within the app to configure your preferences. Generally, you will need to:
- Select your desired server location.
- Choose the type of VPN protocol (OpenVPN, IKEv2, etc.) preferred for your needs.
- Enable features such as "Kill Switch" to enhance your security.
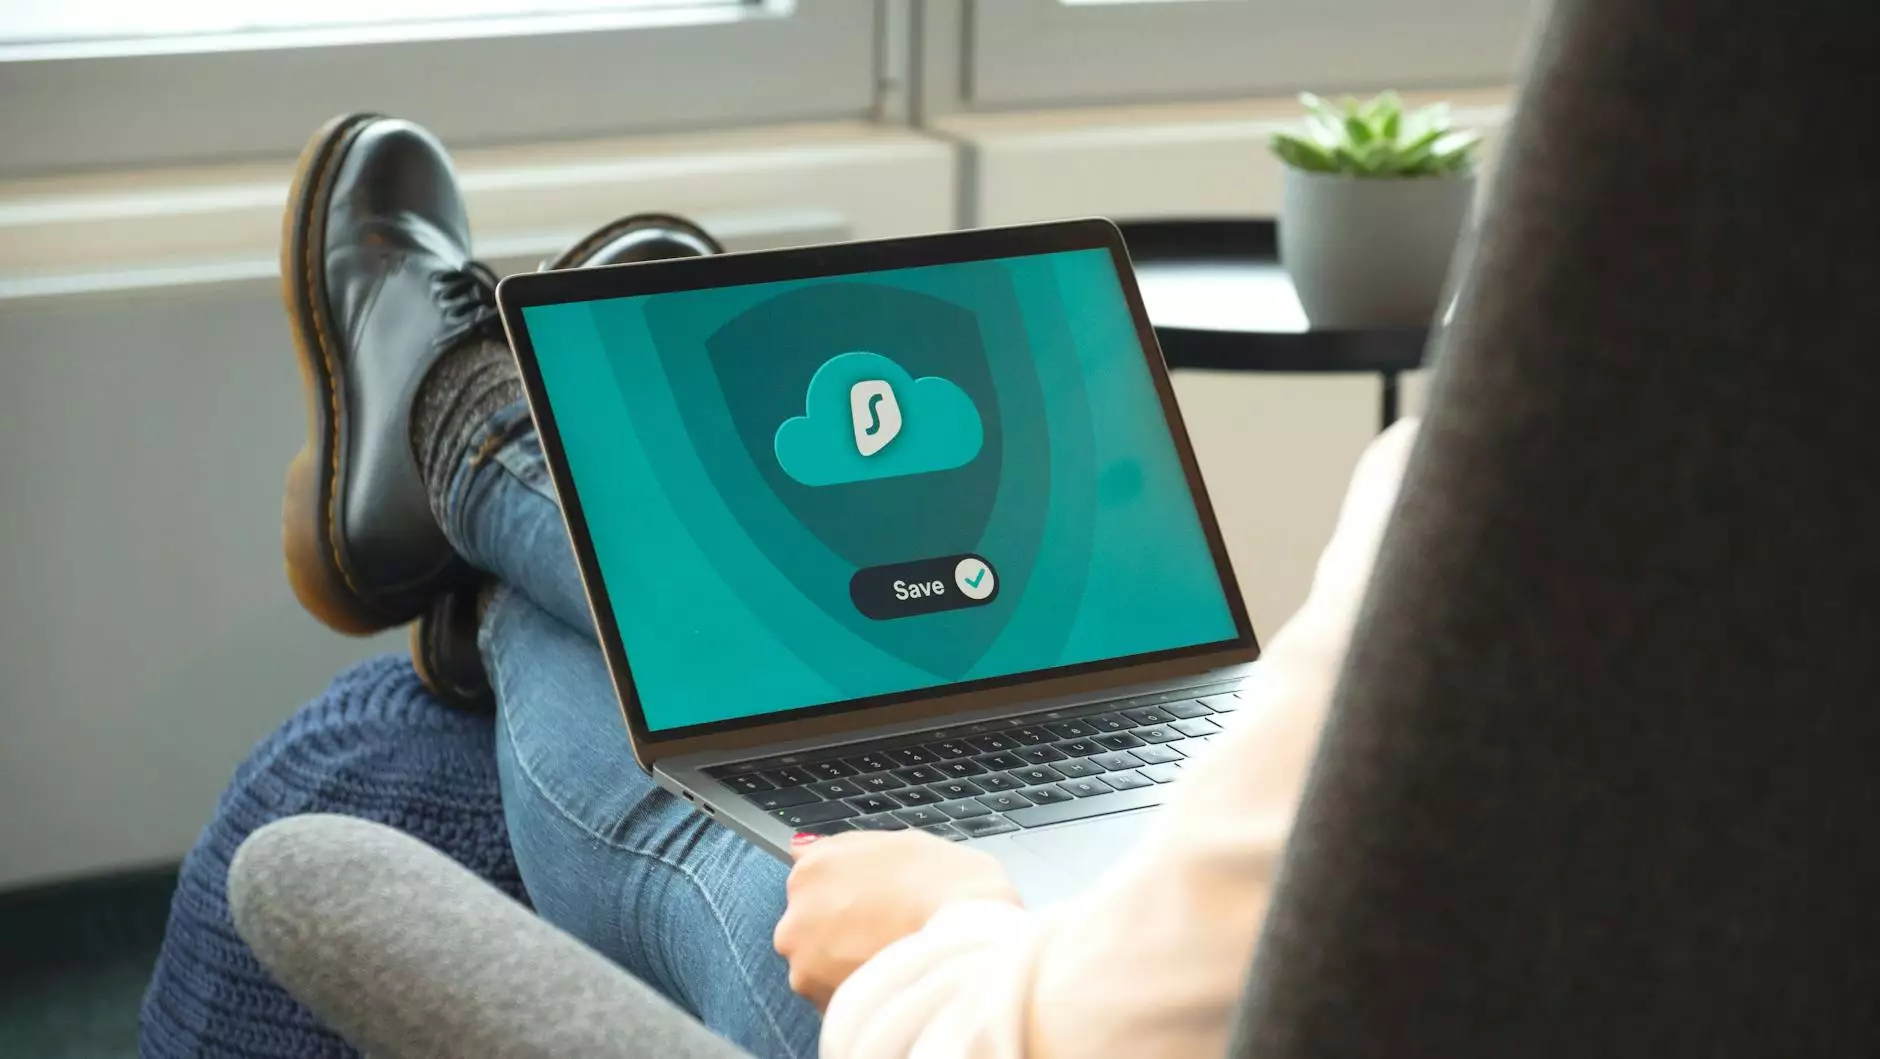
5. Connect to Your VPN
After configuration, you're ready to connect! Simply hit the "Connect" button in your VPN app. You should see a key icon in your notification bar, indicating that your VPN is active.
6. Verify Your VPN Connection
To ensure your VPN is working correctly, visit a website like whatismyipaddress.com. If the IP address displayed is different from your original one, congratulations! You've successfully set up your VPN server.
Troubleshooting Common VPN Issues
Sometimes, issues may arise during the setup process of your VPN. Here are some common problems and solutions:
1. Unable to Connect
If you cannot establish a connection:
- Check your internet connection. Make sure you are connected to a stable Wi-Fi or mobile data.
- Restart your VPN app and try connecting again.
- Switch to a different server location in the VPN app.
2. Slow Internet Speed
Experiencing slow internet speeds while using a VPN? Here are some tips:
- Choose a server closer to your actual location.
- Switch to a server that has less traffic at the time.
- Try a different VPN protocol in the settings of the app.
3. Unable to Access Certain Websites
In some instances, specific websites may not be accessible even when connected to a VPN. To resolve this:
- Clear your browser cache and cookies.
- Change to a different server in the VPN app.
- Disable WebRTC in your browser settings to protect your true IP address.
Best Practices for Using a VPN on Your Android Phone
To enjoy the full benefits of your VPN, keep the following best practices in mind:
- Always Connect Your VPN: Make it a habit to connect to the VPN whenever you access the internet, especially on public Wi-Fi.
- Keep Your App Updated: Regularly check for updates to your VPN app to ensure you have the latest security features.
- Use Strong Passwords: If your VPN provider offers account management features, enable two-factor authentication for enhanced security.
Conclusion
Setting up a VPN server on your Android phone is a straightforward process that significantly enhances your online security and privacy. By following this guide, you'll be well-equipped to protect your data and enjoy unrestricted access to all of your favorite online content.
As a user of a VPN service like ZoogVPN, you can rest assured that your internet usage will remain private, secure, and accessible from anywhere in the world. Invest in your online safety today and take control of your digital footprint!